YoDa'S PROJECT X
- " The Black Guard " -
The
Idea :
Okay , the Idea was 2 make a " window " in
the side
of the case ( in plexi ) , setup some light in the case
,
putin extra fans , and spraypaint the thing ...
Okay Here is what we did :
-
Case -
| |
So
First we did some thinkin about the color , forms etc.
With
this in mind we went 2 get the tools for the job ,
these
tools are : A Dremmel Tool , White Paint ( underground ) ,
Black
Paint ( lots of it ) , Nuts and Bolts , Plexi glass , Led's and
Lights ,
and Extra Cooling Fans ( 3 of them ) .
First
we drilled all the holes in the case 4 the Fans , then we marked
the
space where the Window should be , drilled
holes in the corners ( 2 make the
cutting a little easier ) , once we had
the holes and window it was time 2 adjust
the Plexi , placed it on the indow and marked
the attachment points , made those
holes and cute out the shape of the indow .
Okay , now we have the first part completed
, now we will start the
painting of it all .
First we cleaned the surface , then sprayed
the first 2 layers
( the white undergound color ) , let it
dry for about 2 hours ,
then it was time for the next 2 layers :
The Black Paint
and again let it dry for 2 hours .
Now
the last thing left 2 do on the case is the last layer : this
is a transparant
varnishing layer , and again let it dry for about 4 hours .
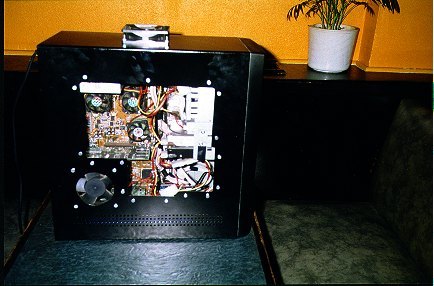
Now
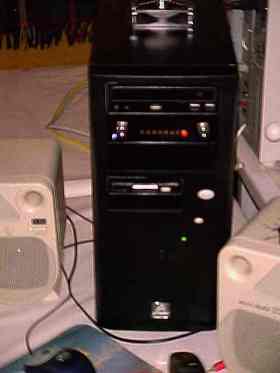
the Outside of the case is ready , putt everything inplace :
the
Plexi glass and fans and it's Done .
|
|
|
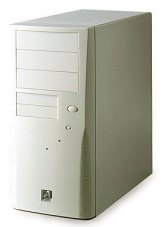
This
was the Original Case :
Aopen
Hx45
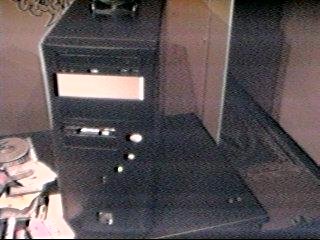
This
is the case NOW :
- Keyboard -
| |
This
wasn't that hard , the only difficulty is getting the
thing
apart , but after takin a good look the thing was open .
Be
very carefull with the inside of the keyboard , because the Prints
are made in Plastic , don't change the order
they're in !!!
Also be carefull with the keys themself
they are attached with little
fragile plastic hooks .
Okay , now the thing is apart it's time
2 start painting
like the case we've sprayed 2 layer White
underground , 2 layers and 2 layers
of transparant varnishing paint .
Put it back 2 getter and it's done .
|
|
|
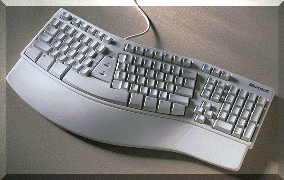
This
was the Original Keyboard
Microsoft
Natural Keyboard Elite
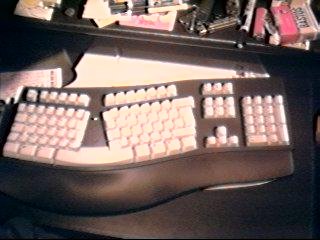
The
Keyboard NOW :
-
Lights and Led's -
| |
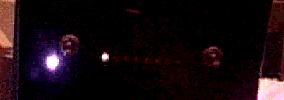
This
is easy , just find a light source that will run on 12volt , hook
it up and ready ....
The Led's can be place anywhere but be sure
2 drill the holes before
painting .
|
|
|
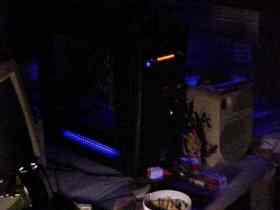
And here they Are in action
( text on how 2 make this is on the
way ... )
More Pictures of the full system

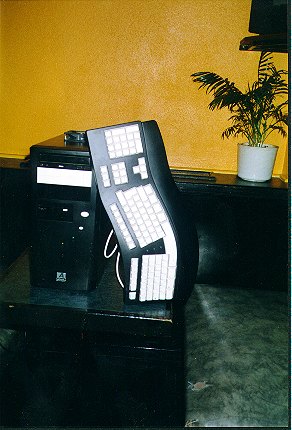
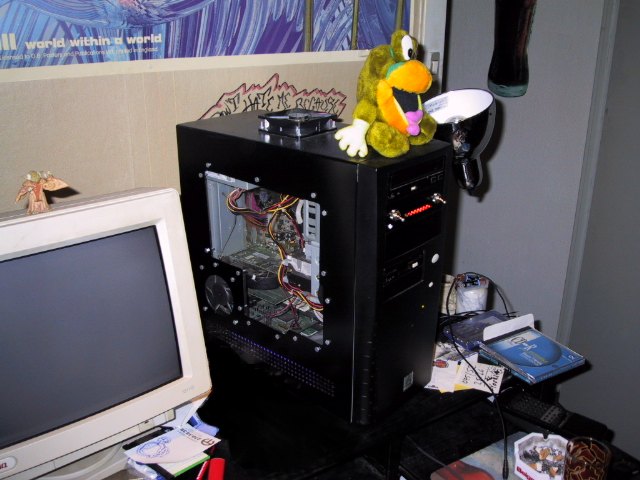
1 Full Picture of the comp
on the Messy desk LOL
Case @ LanParty
- The Monitor is NEXT !!! -
- System Specs - UPDATE
Dual Celeron 500@563 -Abit BP6 - 256
Meg - 19gig Hd - G Force 2 GTS (quadro
mod) -
SoundBlaster 64 - 40x Cdrom - Plextor
CdRW 12x 10x 32x
New Pictures UPDATE
- System Test -
Link to BenchMark
Page
thnx
2 :
Di@blo ( Kriske ) : 4 giving me the Id
Bibendum ( Jelle ) : 4 helpin out with the drilling
BosMan ( Dave ) : also helpin with the drilling
Gene : 4 providing the Plexi
Edie : 4 helpin me with a prob i was havin in the paintjob
Patje : 4 helpin out in general